Tag Matching is a new feature designed to provide users and companies with better recommendations when they open their app. Better recommendations lead to more meaningful face-to-face encounters at your gathering.
Part I - Selecting your tags in the on-boarding process on the website or app.

Part II - Reviewing your recommendations on the home page or under your recommendations sub-menu

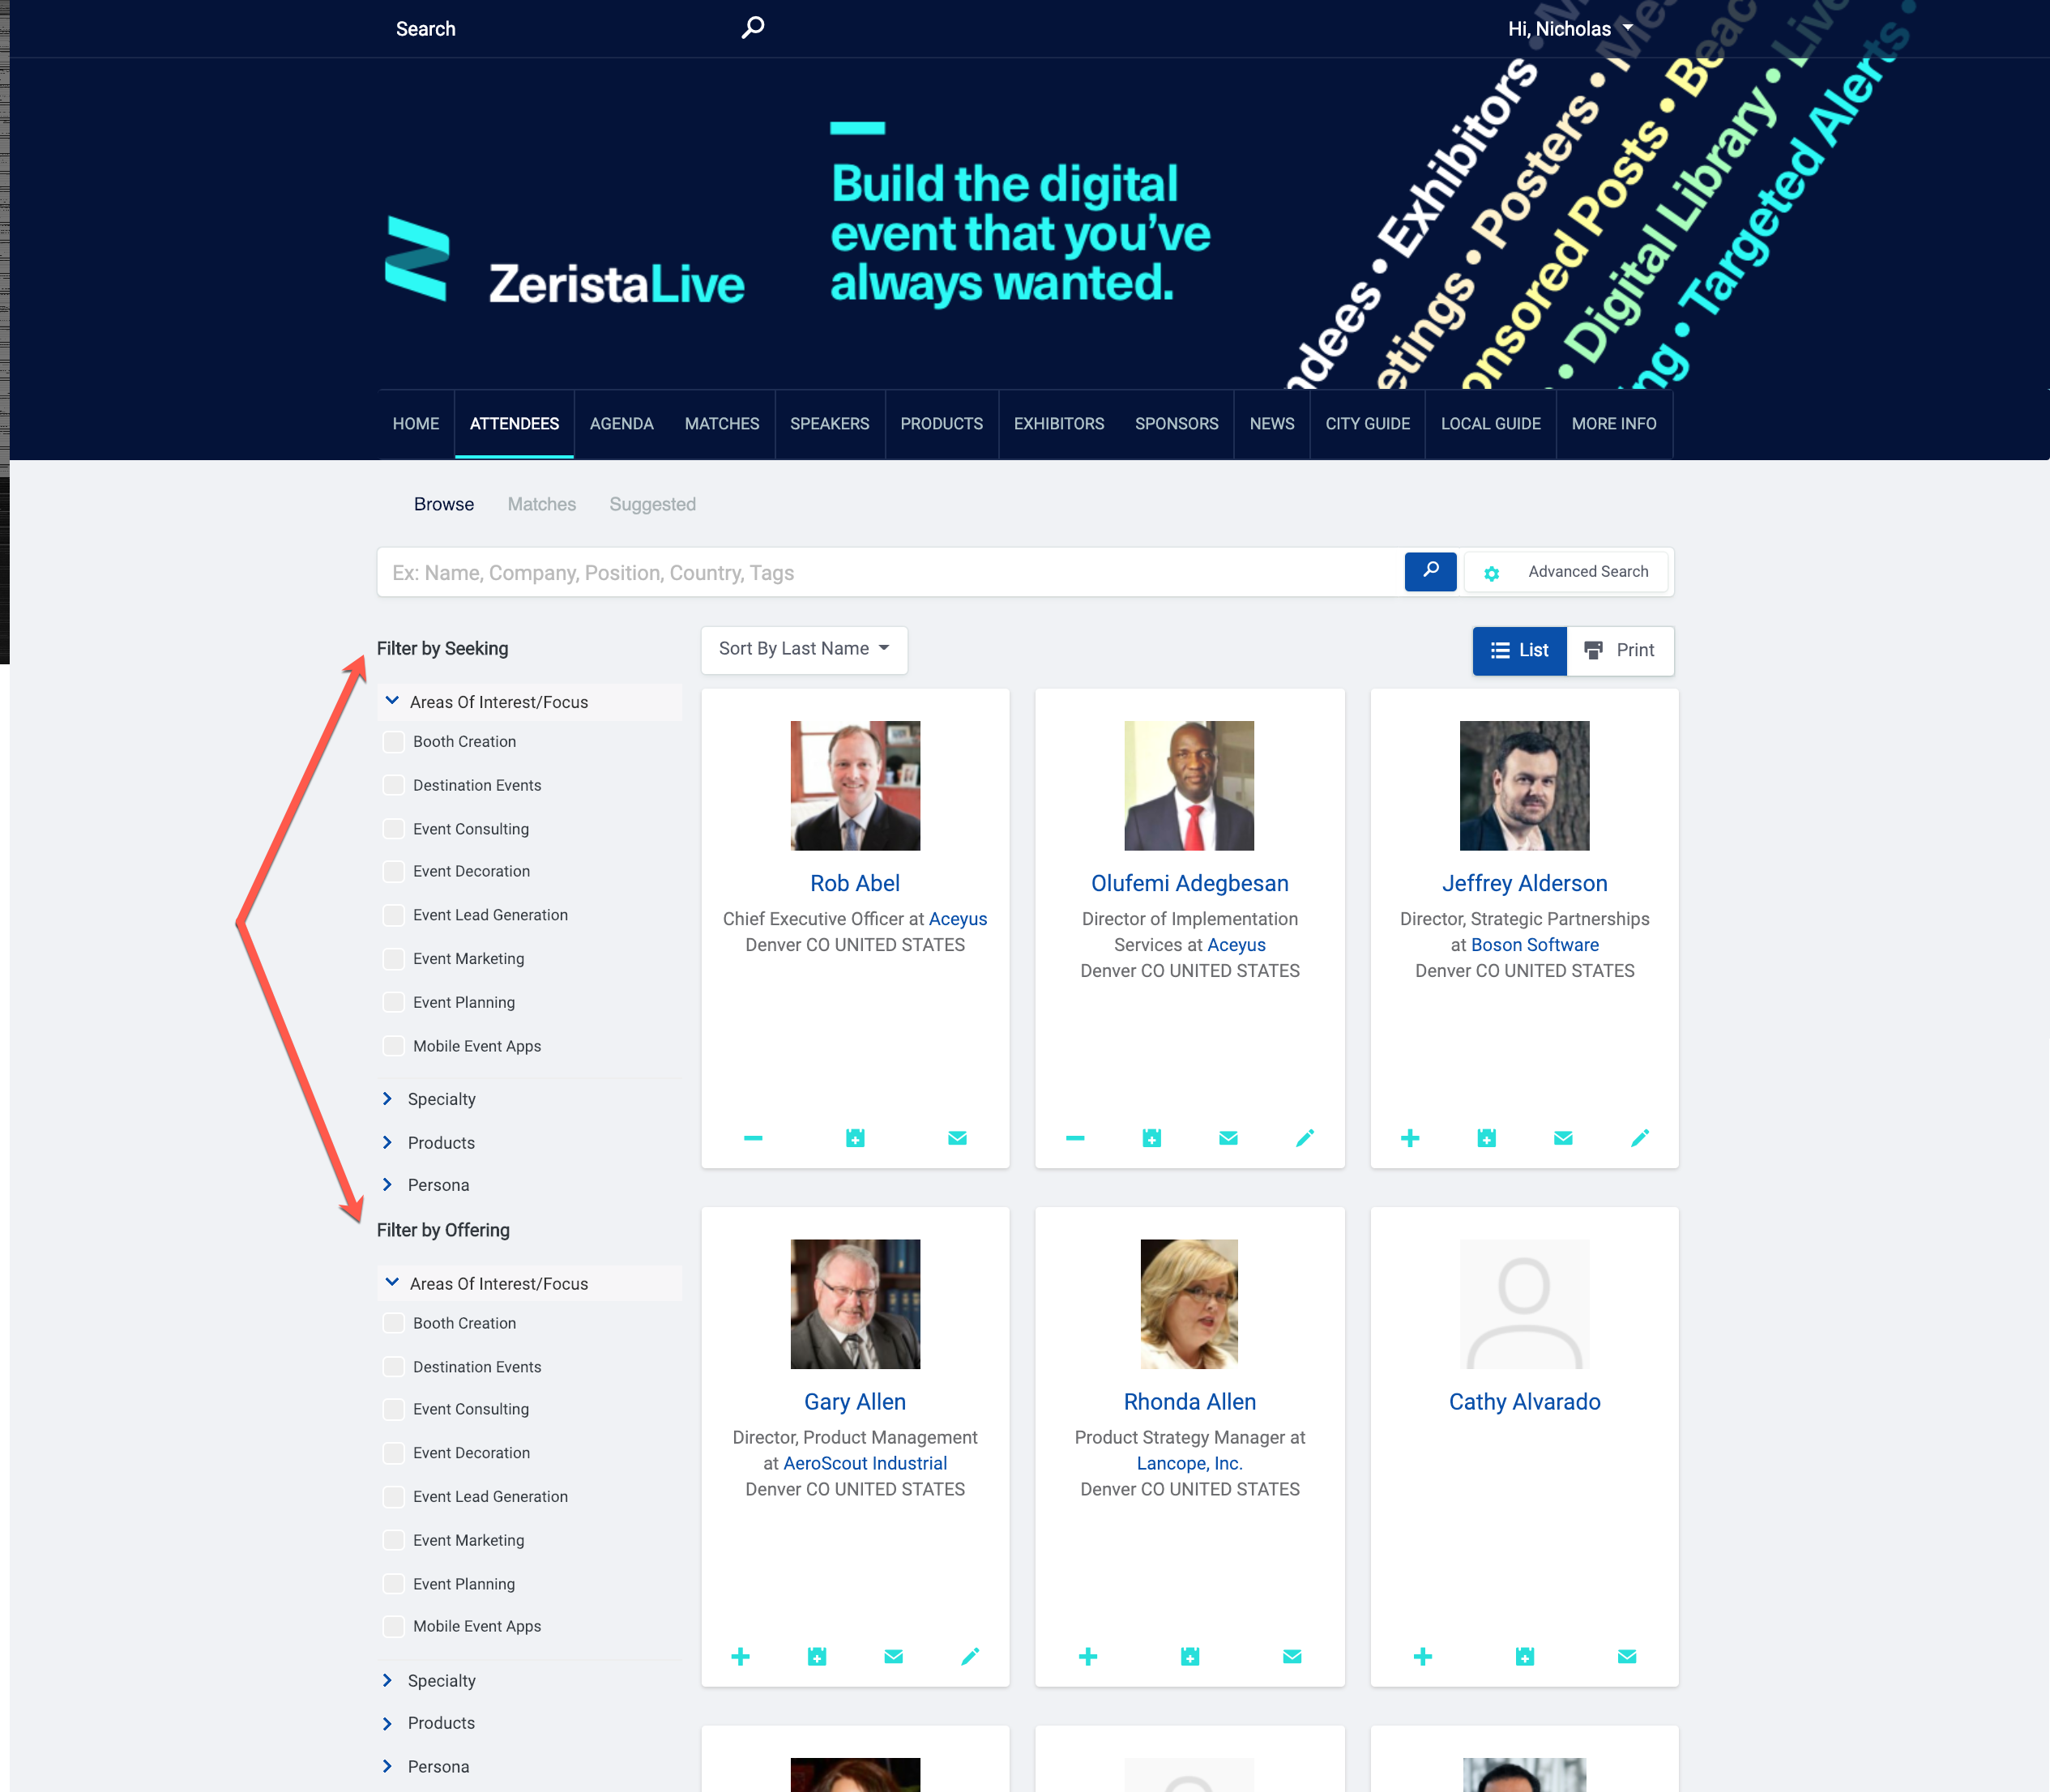
Filtering changes when recommendation tags added
When you add recommendation tags in the admin the filter display is going to change to duplicate filters for offering and seeking tags. This is done automatically by the system when using these tags.
---------------------------
Setup of Tag Matching
- Login to your Zerista admin portal
- Go to Recommendations>Interest
- Type or copy/paste in your tags in the appropriate formats (ex: Parent, Parent>Child, Parent>Sub-Parent>Child)
Note: You cannot use the interest tag types under attendees or companies if you are going to also use recommendation tags. If you want to also recommend posters and sessions those interests entered need to match what is added to these recommendation tags.
Ui Section Setup
- Login to your Zerista admin portal
- Go to Appearance>UI Sections
- Select 'Home' from dropdown on the Desktop tab
- Under the Sub heading 'Group (home-main) make sure recommended attendee & company carousels are present

- Select 'Home' from dropdown on the Mobile Web/Native Apps tab
- Under the Sub heading 'Group (home-main) make sure recommended attendee & company carousels are present
- If your event tags match your recommendation tags make sure to also add the event recommendation widget to the home page as well!
Note: By default the Zerista conference has these tag matching recommendation sections already present but if you modified your layout these may have been removed, hence the instruction above.
---------------------------
Imports/Integration with Tag Matching
Once your tag setup is done you may want to map tags against existing users/companies.
- Login to your Zerista admin portal
- Go to Attendees>Export
- Receive export file
- Open it
- See columns M&N for tag matching entries
- Populate tags based on whether they applied to the users 'describes' or 'desires' tags and re-import the file

- If using an integration and you want tags collected in the registration process to map correctly you will need to let the Zerista Integration team know user entries map to describes vs desires tags.
Script
- Login to the Zerista Admin
- Go to Settings>Scripts
- Select Recommendation Generators
- Select 'Tags' as the algorithm type
- Setup your script to run on on interval of twice a day