To create a new map, first open Maps>List in your site's admin portal, then click the Create Map button.
You will be taken to a page that looks like this:
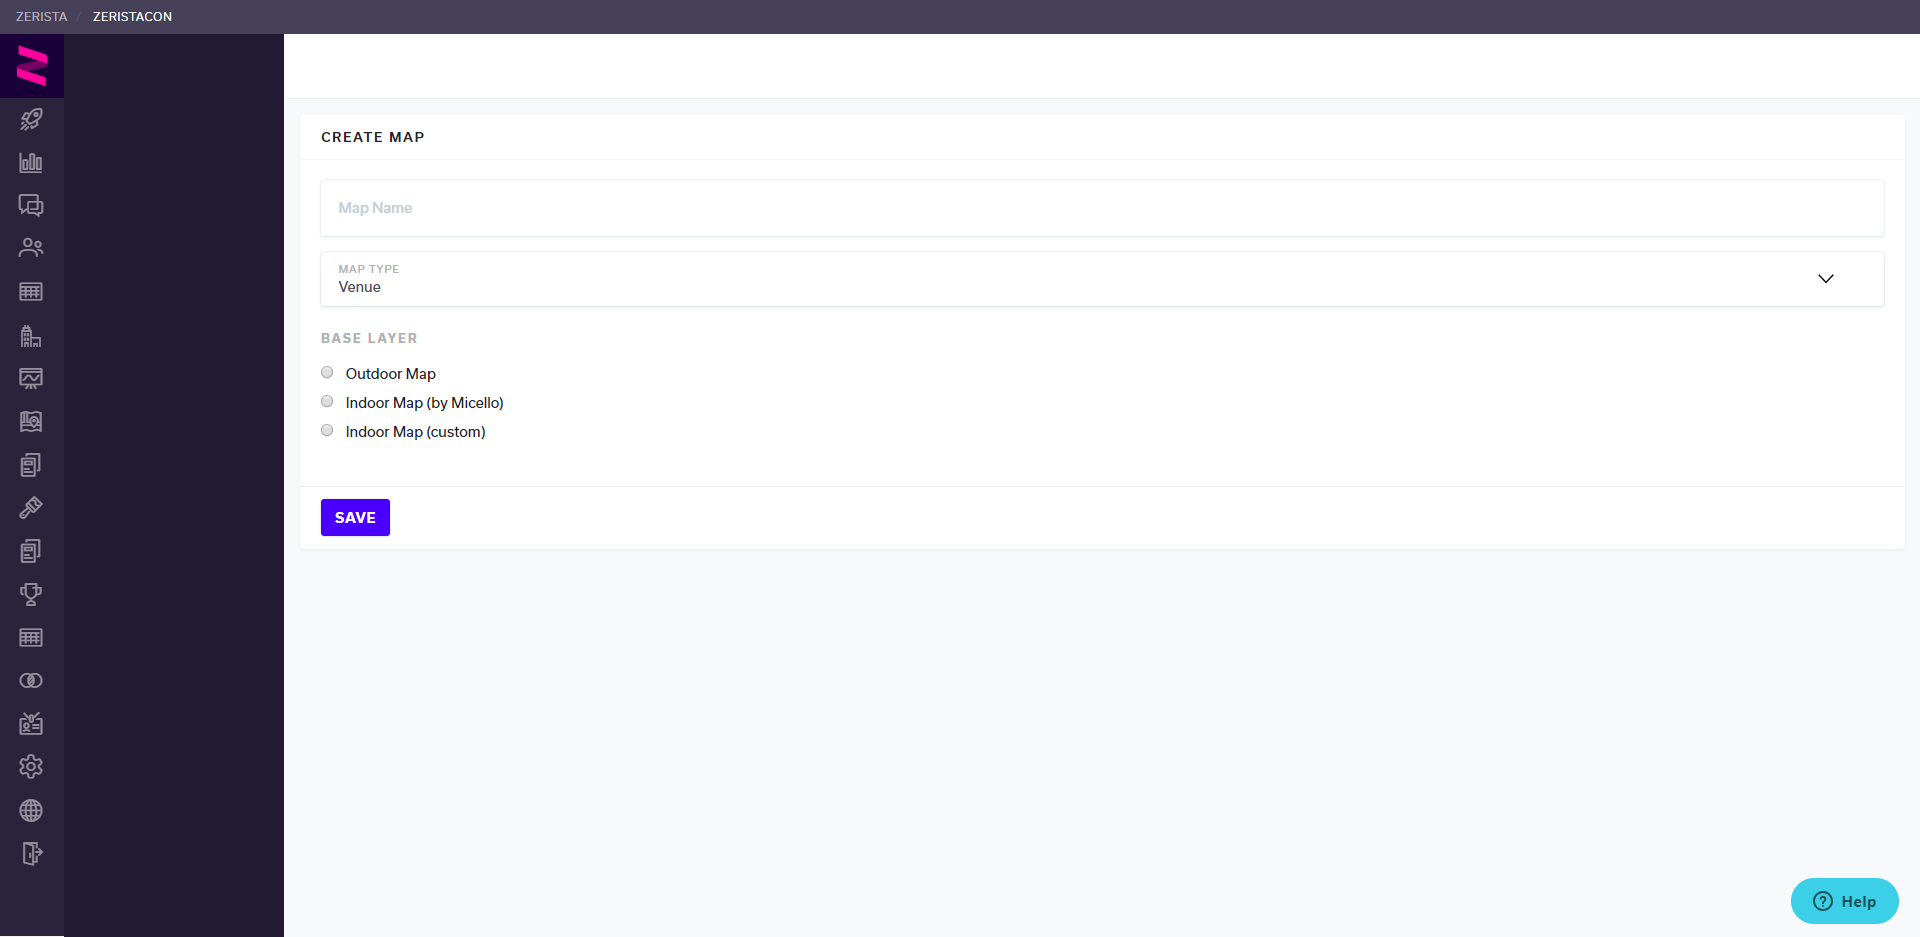
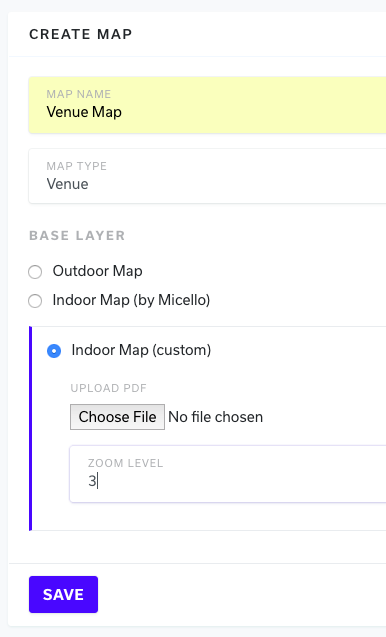
From this Create Map page, give your map a name, then choose a map type.
Map Types
Venue - Associated with the Agenda, these maps are for session and attendee-meeting locations.
Exhibitor - On this map, you can indicate where the exhibitor/sponsor booths/stands are located.
Poster - If you are using posters at the conference you'll be able to show their locations on a poster map.
Local Guide - This is typically a street/area map, displaying the location of the venue.
Next, you will choose a base layer.
Base Layers
Outdoor Map - an interactive world map, ideal for the Local Guide map type. Great for tagging the venue's location and nearby hotels and attractions!
Indoor Map (by Micello) - we use Micello's services to create an interactive map for you. Once requested, we'll set this up for you.
Indoor Map (custom) - similar to the Indoor Micello map, but instead is a direct upload of the map in PDF format; you can tag this map yourself and change it easily at any time!
! IMPORTANT NOTE !
If your PDF maps have branding on them:
- PDF maps MUST be saved in RGB format, CMYK will present any branding (color) incorrectly.
- Ensure you use a square (1x1 aspect ratio) artboard when designing your maps to avoid unnecessary white space.
Follow the steps below to upload a custom indoor map:
- Choose the file you would like to upload (Please remember that it needs to be a PDF file)
- Change the Zoom Level to 3. This ensures you are able to see the locations clearly when editing. You can have a higher zoom level but this should only be used if zoom level 3 is not adequate to view the locations.
- Click Save.