Interest tags are a great way for attendees to find exhibitors and sponsors that match their interests instead of scrolling through the entire list. Attendees are able to filter the exhibitor listing by tag for easy searching.
To create a tag, open the admin portal of your Zerista website and open Exhibitors>Interests.
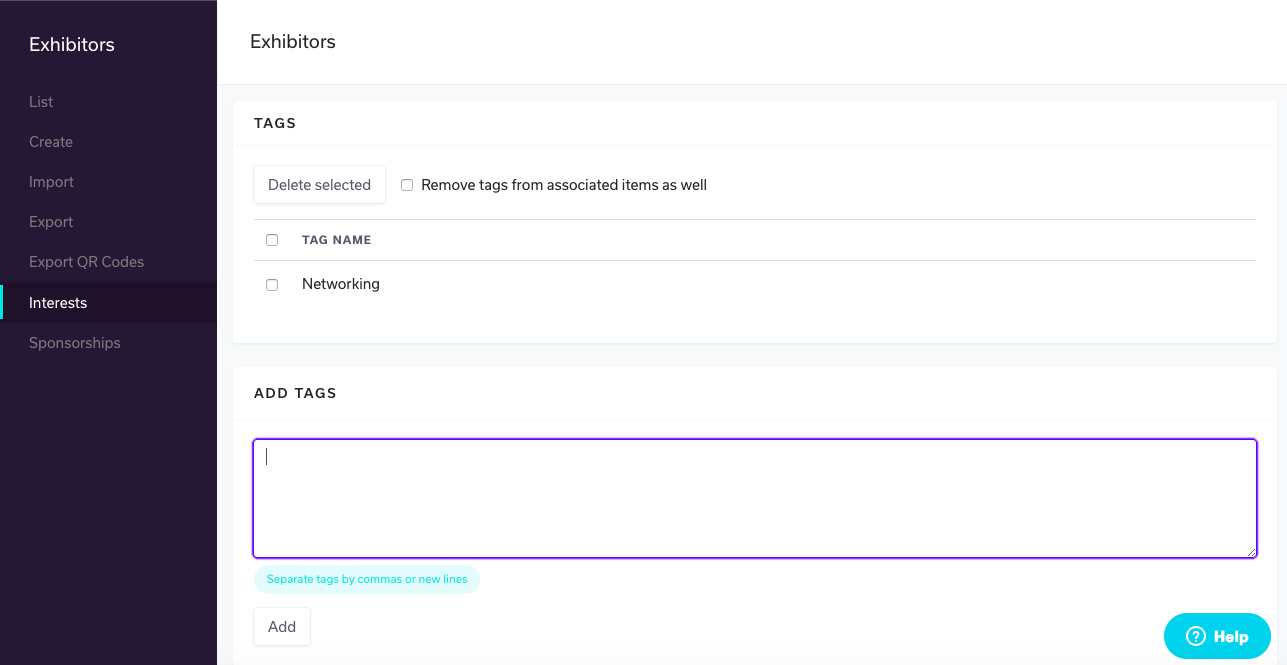
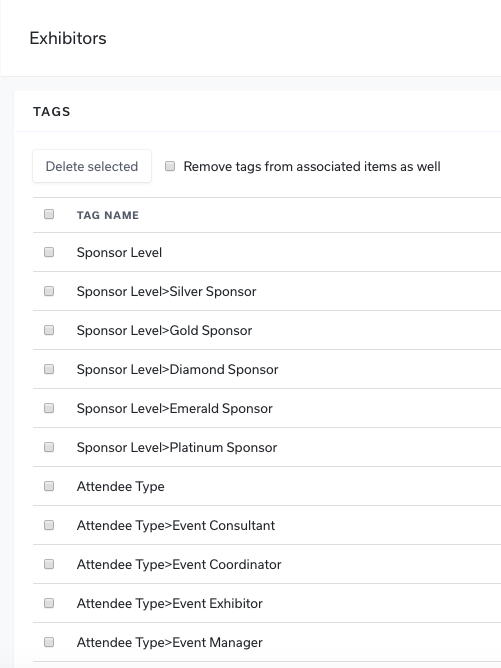
Input the tags you want, separating multiple entries by comma or by pressing Enter/Return to start a new line, then click Add. You can create tag categories by entering the "parent" category as a single entry, and then "parent>child," as shown in the image below.
Sometimes tags will be labeled with a comma so it could be a single tag labeled "Snap, Crackle and Pop". The system will still read it as two separate tags because of the comma. If you want a single tag to have multiple words, instead of separating it with a comma, use a "&" or the word and or just leave a space.
Once interests have been created, you should assign the same interest tags to the attendee interests page so users will automatically be recommended to visit matching companies.
You can also work with the integration specialist if you are integrating sessions into your site and would like to also have the tags carry over.