Ad Campaigns are used to control where and when your ads are displayed on your Zerista website/app. To access the campaigns page click on Ads>Campaigns.
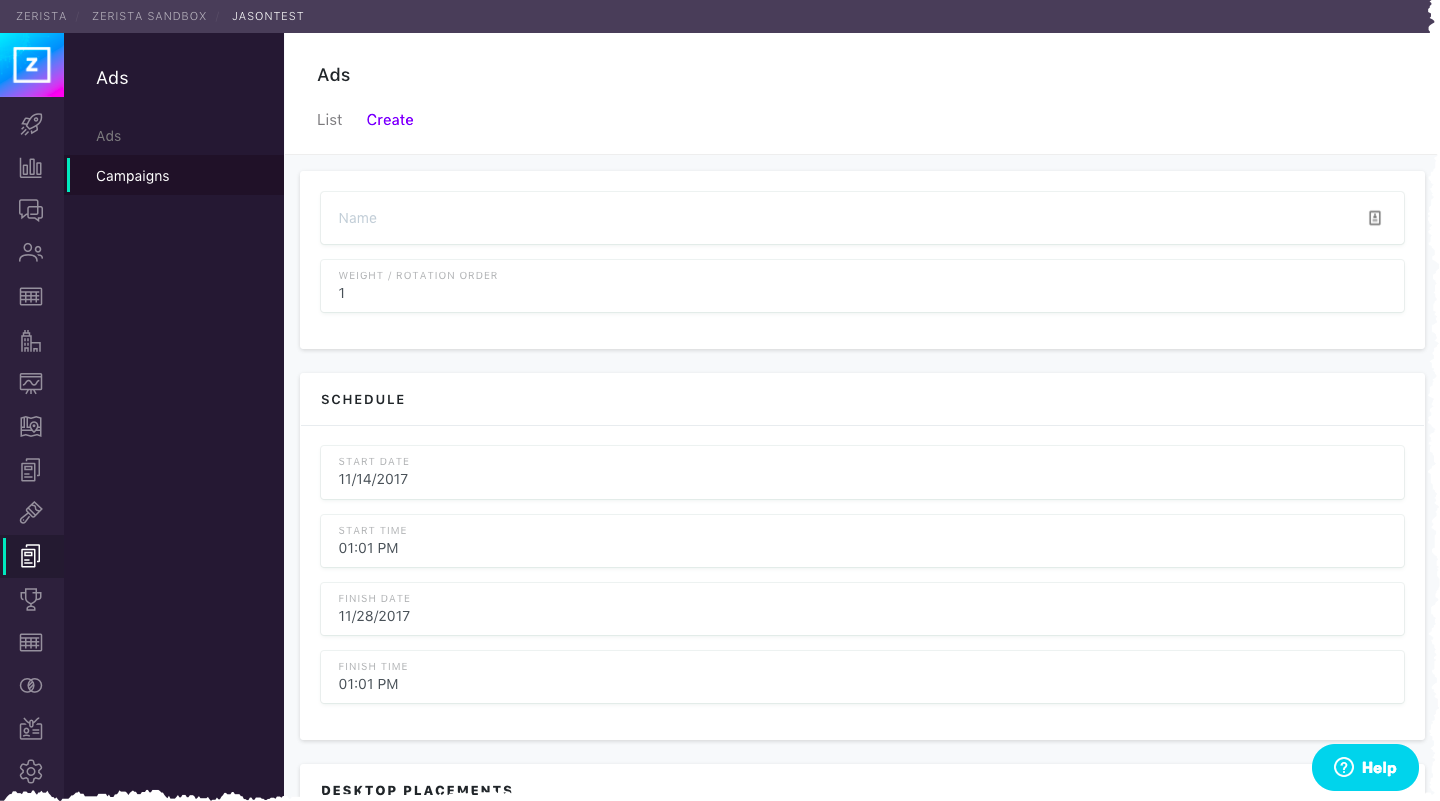
Click "Create" to setup a new campaign.
Give your new campaign a name. Choose when and how long the campaign will run by selecting a date and time range (see below).
Scroll further down the page to Desktop Placements, as seen in the image below. This is where you can assign your banners to pages on the website and set their Weight/Rotation Order. Select a page and click the checkbox next to the ads you want to display. The Weight/Rotation Order determines an ad's priority over other ads and how often it will appear on the page.
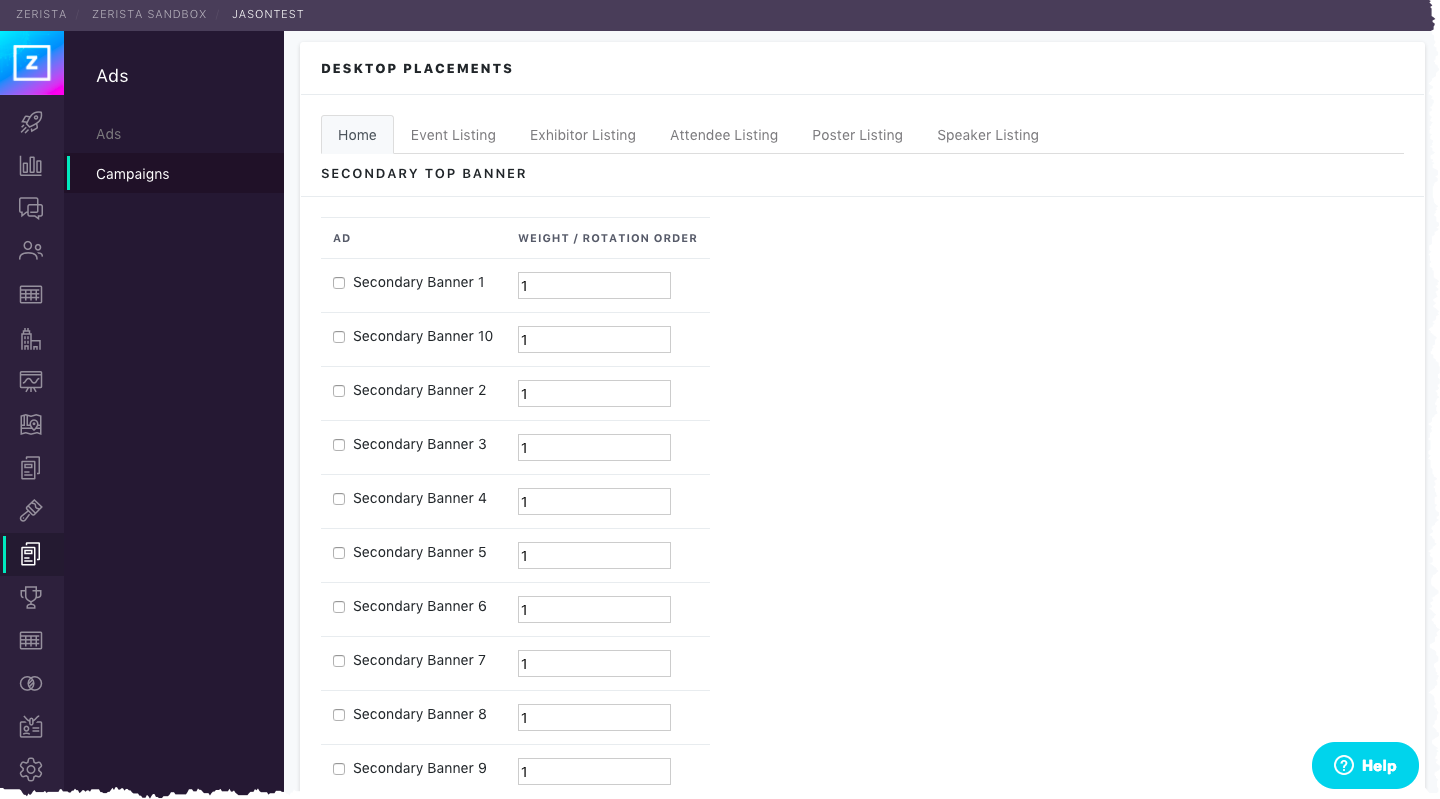
When you are finished, do the same for the other desktop pages and repeat the process for Mobile Placements.
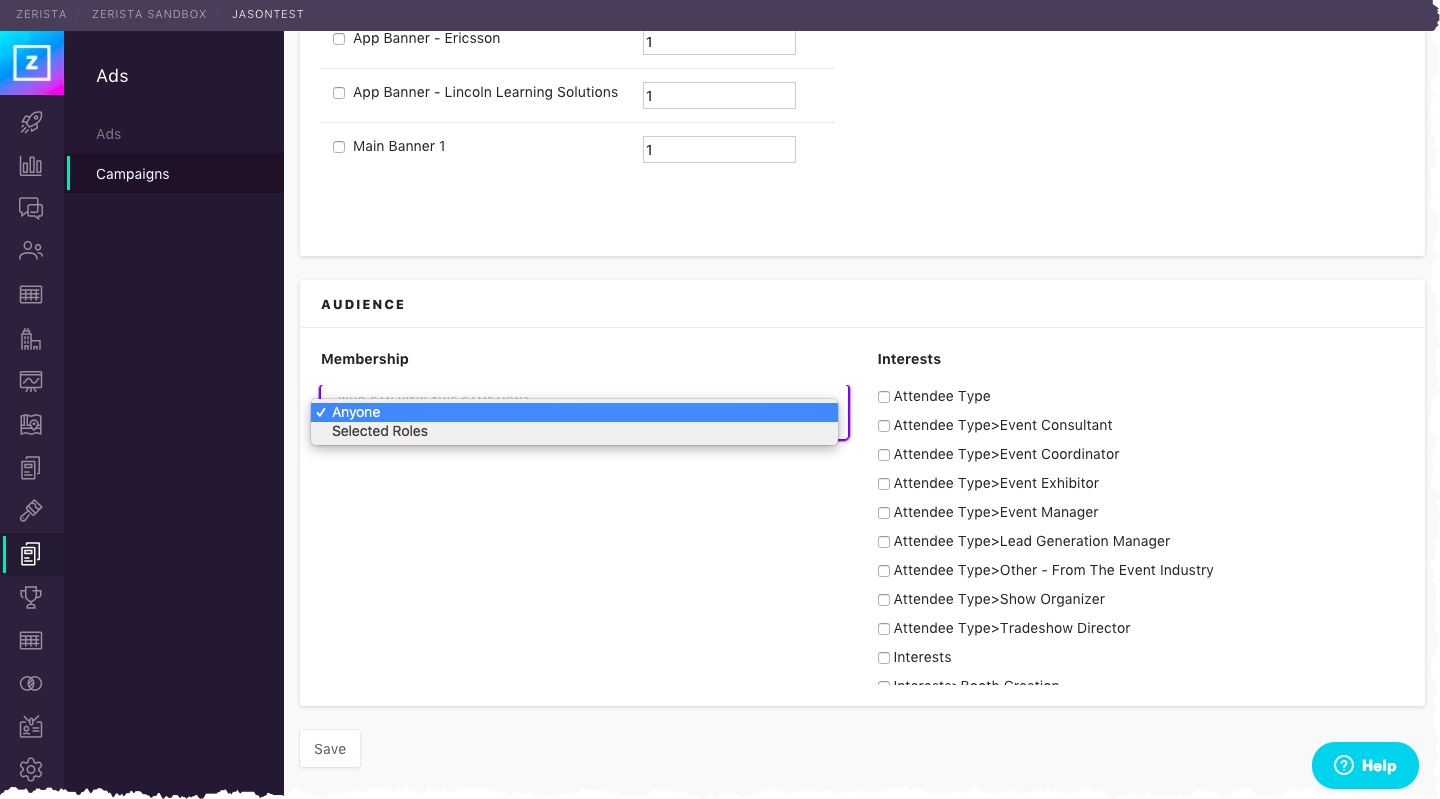
After your ad banners have been assigned and prioritized, you can now set the campaign's target Audience.
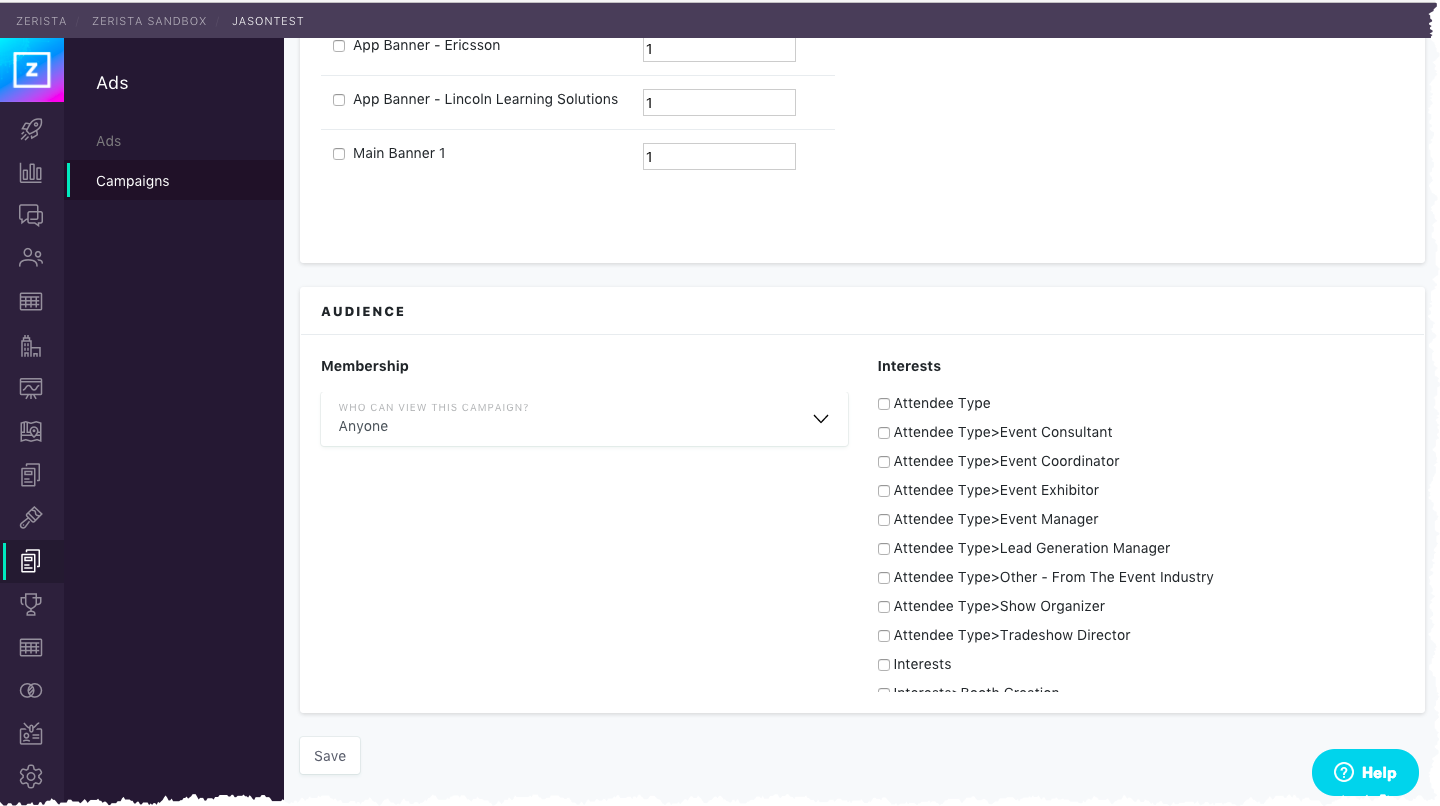
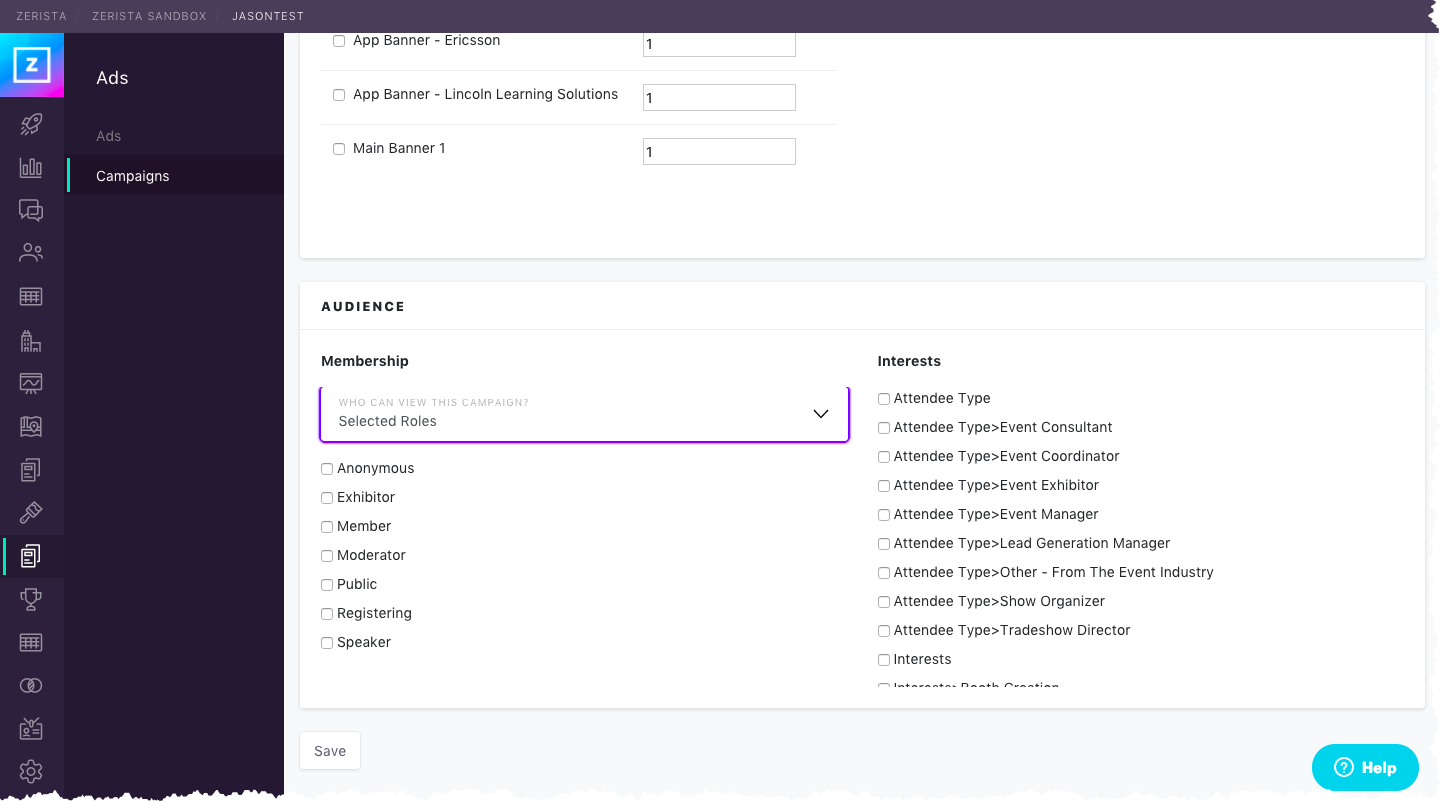
From the Membership drop down, select "Anyone" to make this campaign visible to all users or "Selected Roles" to narrow down who will see it.
If you choose "Selected Roles," a new menu will appear which allows you to select different membership groups. You can further narrow your audience by selecting Interests as well, which will limit this ad campaign to those users who selected a given Interest in their profile.
Once you are satisfied with the campaign setup, click "Save."
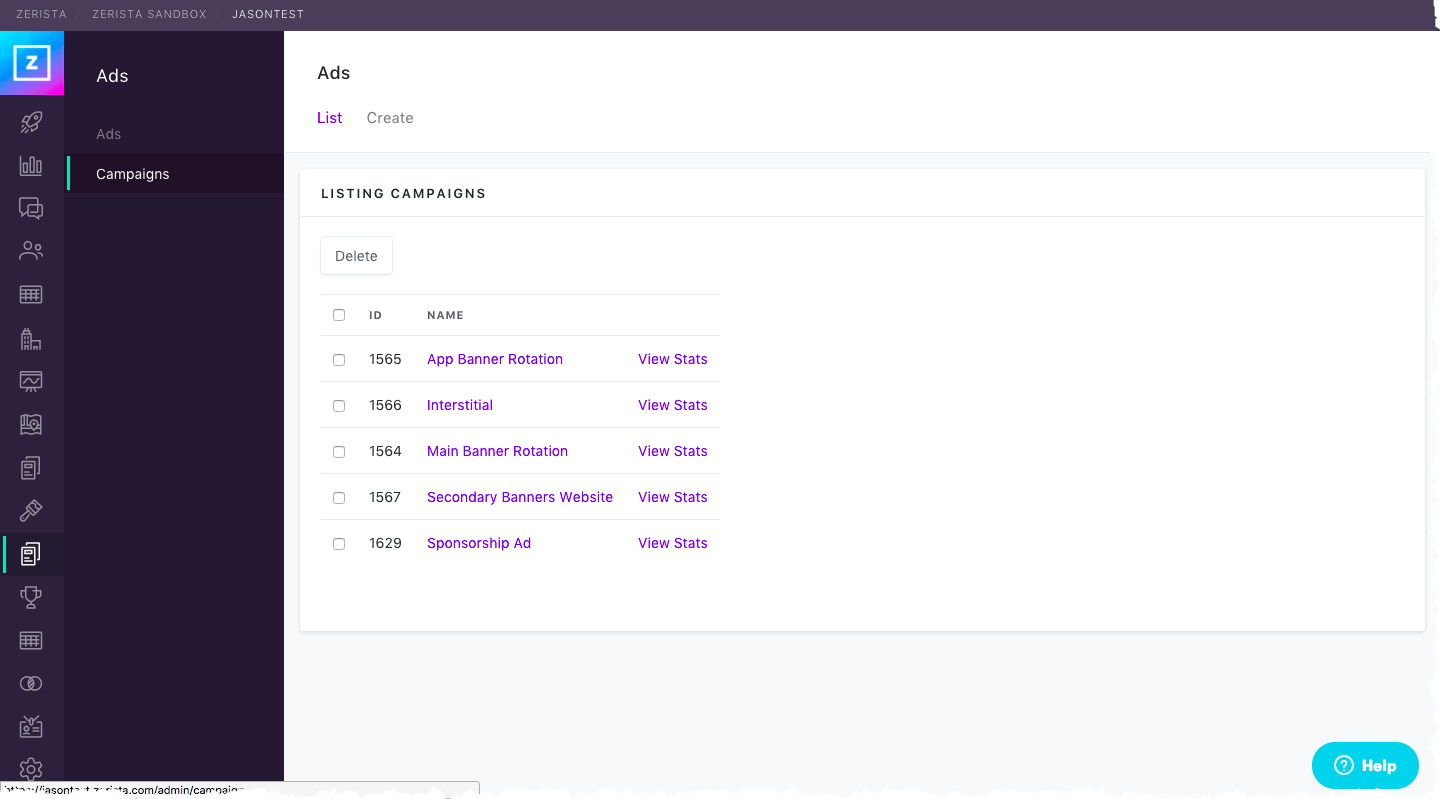
Your ad campaign will now appear in "List" under Ads>Campaigns. You can adjust your campaigns' settings from this page at any time.